Shipping Methods
Now that you have set up all of the pieces you need, it's time to put them together into the shipping options that the customer sees when they reach checkout. These options are called Shipping Methods - they are the carriers and services used to send your products.
Adding a Shipping Method
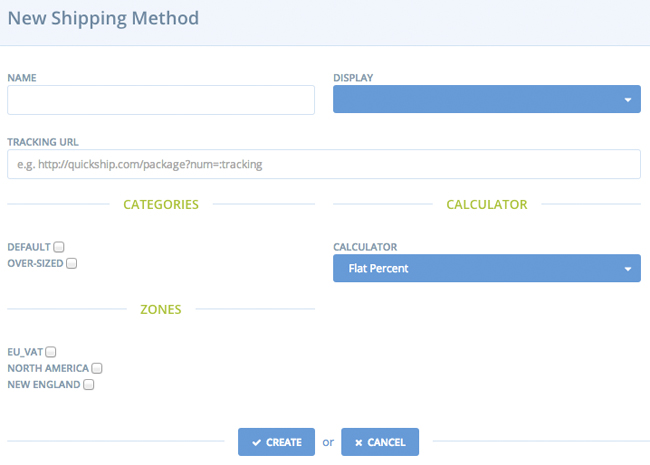
To add a new shipping method to your store, go to the Admin Interface and click "Configuration", then "Shipping Methods". Click the "New Shipping Method" button to open the New Shipping Method form.
Name
Enter a name for the shipping method. This is the exact wording that the customer will see at checkout. This should include both the carrier (USPS, UPS, Fedex, DHL, etc.) as well as the service type (First Class Mail, Overnight, Ground, etc.) So it would be very common to need several shipping methods for your store, for example:
- USPS First Class
- USPS First Class International
- USPS Priority
- USPS MediaMail
- UPS Two-Day
- UPS Ground
- Fedex Overnight
Remember that you will need to associate one or more zones with each shipping method in order for it to appear as an option at checkout.
Display
From the "Display" drop-down box, choose whether you want to have the option display only on the backend, the frontend, or both.
Shipping methods that are displayed on the frontend can be chosen by your store's customers at checkout time, as long as the products in the order can be shipped by that carrier and the shipping address is one the carrier serves.
If a shipping method is available only on backend, then only your store's administrators can assign it to an order. Some examples of cases where you might want to use a backend-only shipping method:
- You sell handmade wind chimes. You want to offer a "Pick-up in Store" option, but only to certain customers.
- With your online produce market you provide personal delivery of goods, but only to your best local customers.
- Yours is a photography studio. You usually sell prints that physical delivery, but for some clients you are willing to send electronic media that they can print themselves.
Tracking URL
You can optionally input a tracking URL for your new shipping method. This allows customers to track the progress of their package from your Stock Location to the order's shipping address. The string ":tracking" will be replaced with the tracking number you input once you actually process the order.
You may need to check with the shipping carrier to see if they have a Shipping Confirmation URL that customers can use for this service. Some commonly-used tracking URLs are available online.
!!! Please note that Solidus Commerce, Inc. makes no claims of warranty or accuracy for the information presented on third-party websites. We strongly urge you to verify the information independently before you put it into production on your store. !!!
Categories
Some shipping methods may only apply to certain types of products in your store, regardless of where those items are being shipped. You may only want to send over-sized items via UPS Ground, for example, and not via USPS Priority. The options shown in the "Categories" section correspond to the Shipping Categories you set up in an earlier section of this guide series.
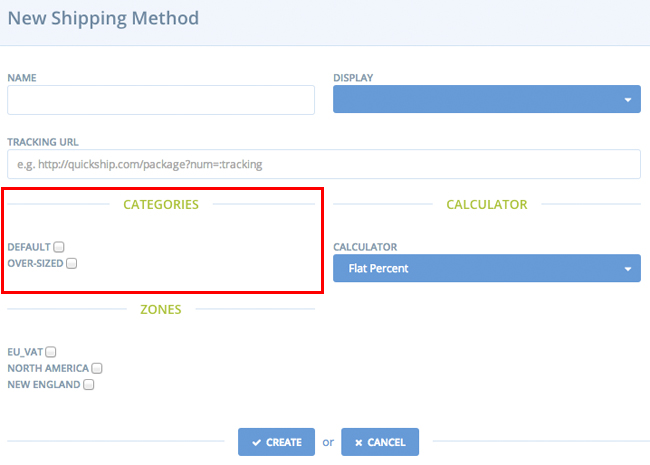
Check the boxes next to the categories you want served by your new shipping method.
Zones
In a previous step to this guide you learned about how to set up geographical zones for your store. Within the form's "Zones" section, you need to specify which zones are served by this shipping method. The "EU_VAT" (European Value-Added Tax) zone could be served by USPS First Class International, but could not be served by USPS Priority Mail.
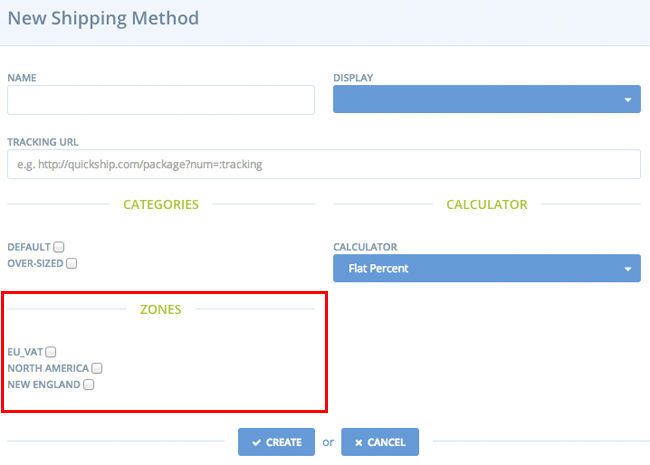
Check the boxes next to any zones you want served by this shipping method.
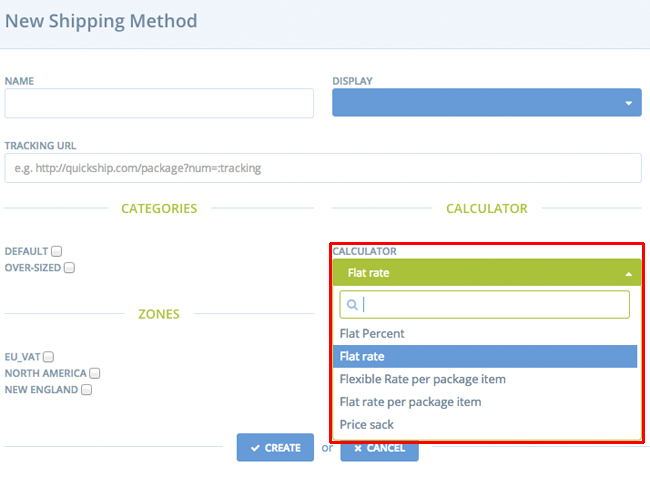
Calculator
Each shipping method is associated with one Calculator. You can choose one of the built-in Solidus calculators, or one you made yourself.
Once you've made your calculator selection, click the "Create" button to finalize your new shipping method. The screen will refresh with one or more fields you'll use to set the parameters of your calculator. For example, creating a shipping method with a flat percent calculator will produce a screen like this:
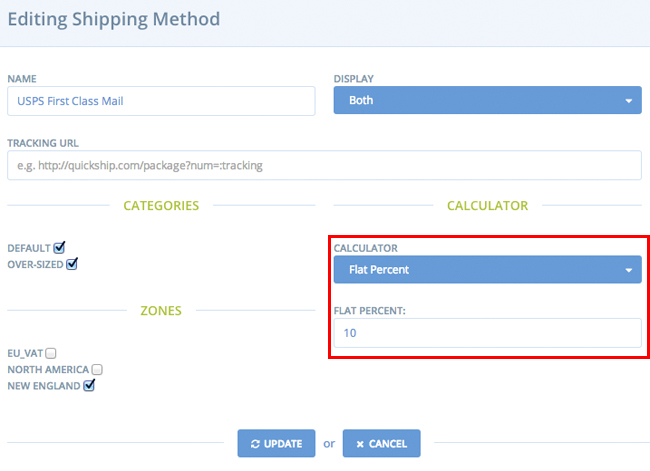
If necessary, you can re-read the Calculators portion of this guide series to better understand the options. Click the "Update" button, and your shipping method is now complete!
Editing a Shipping Method
To edit an existing method, go to the Admin Interface and click "Configuration", then "Shipping Methods". Click the "Edit" icon next to any of the shipping methods in the list.
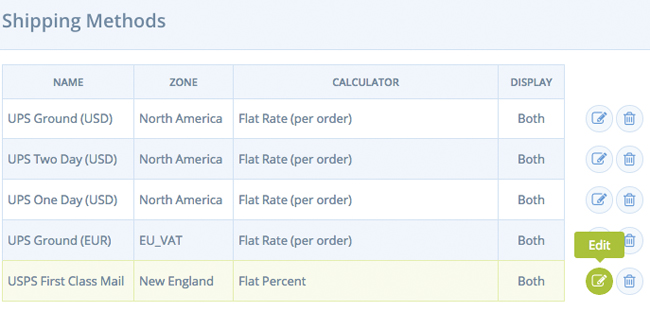
The form and all options that come up are the same as those you used in creating your shipping methods.
Deleting a Shipping Method
To delete a shipping method, go to the Admin Interface and click "Configuration", then "Shipping Methods". Click the "Delete" icon next to any of the shipping methods in the list.
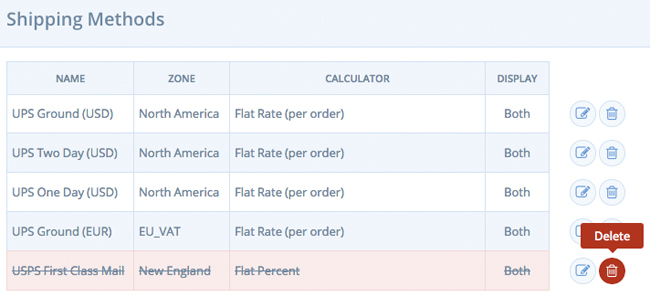
Confirm that you want to delete the shipping method by clicking "OK".